Table of contents
Open Table of contents
Intro
Managing your Docker things such as images, containers, Swarm services etc. from the command line is the out-of-the-box option provided by Docker. While this is all fun and games for all of us developers, sometimes a graphical option would be a nice addition. In this article I we will get up and running with one Open Source option, called Portainer.
Portainer itself runs as a Docker container, or as a Swarm service.
Prerequisites
- Recent macOS, Linux laptop should both work. At the time of writing I am running
macOS Sierra 10.12.6. Portainer should run on Windows host too, see the official docs for more. - You have the Docker Community Edition running. At the time of writing I am running version
17.12.0-ce-mac49 (21995).
Up and running
It’s a good idea to persist the data, and for this we either bind mount a directory from host machine or use a data container. We are going to run Portainer as a Docker container, with persistent storage via bind mount.
Run the container
On the command line, run the container with the following command:
docker run -d -p 9000:9000 \
  --restart always \
  -v /var/run/docker.sock:/var/run/docker.sock \
  -v /directory/on/your/host/machine:/data \
  --name my-portainer \
  portainer/portainer
This will:
- launch the Portainer container in the background
- expose port 9000 on the host
- restart the container if it fails
- bind to Docker’s socket on the host machine
- persist data to host directory, and
- name the container as
my-portainer.
Open the Management Console
Visit http://localhost:9000/ and login by creating a new user account.
Choose if you want to connect to the local Docker host, or a remote one. Yes, with Portainer, you can manage multiple Docker environments as long as the prerequisites for remote management are met.
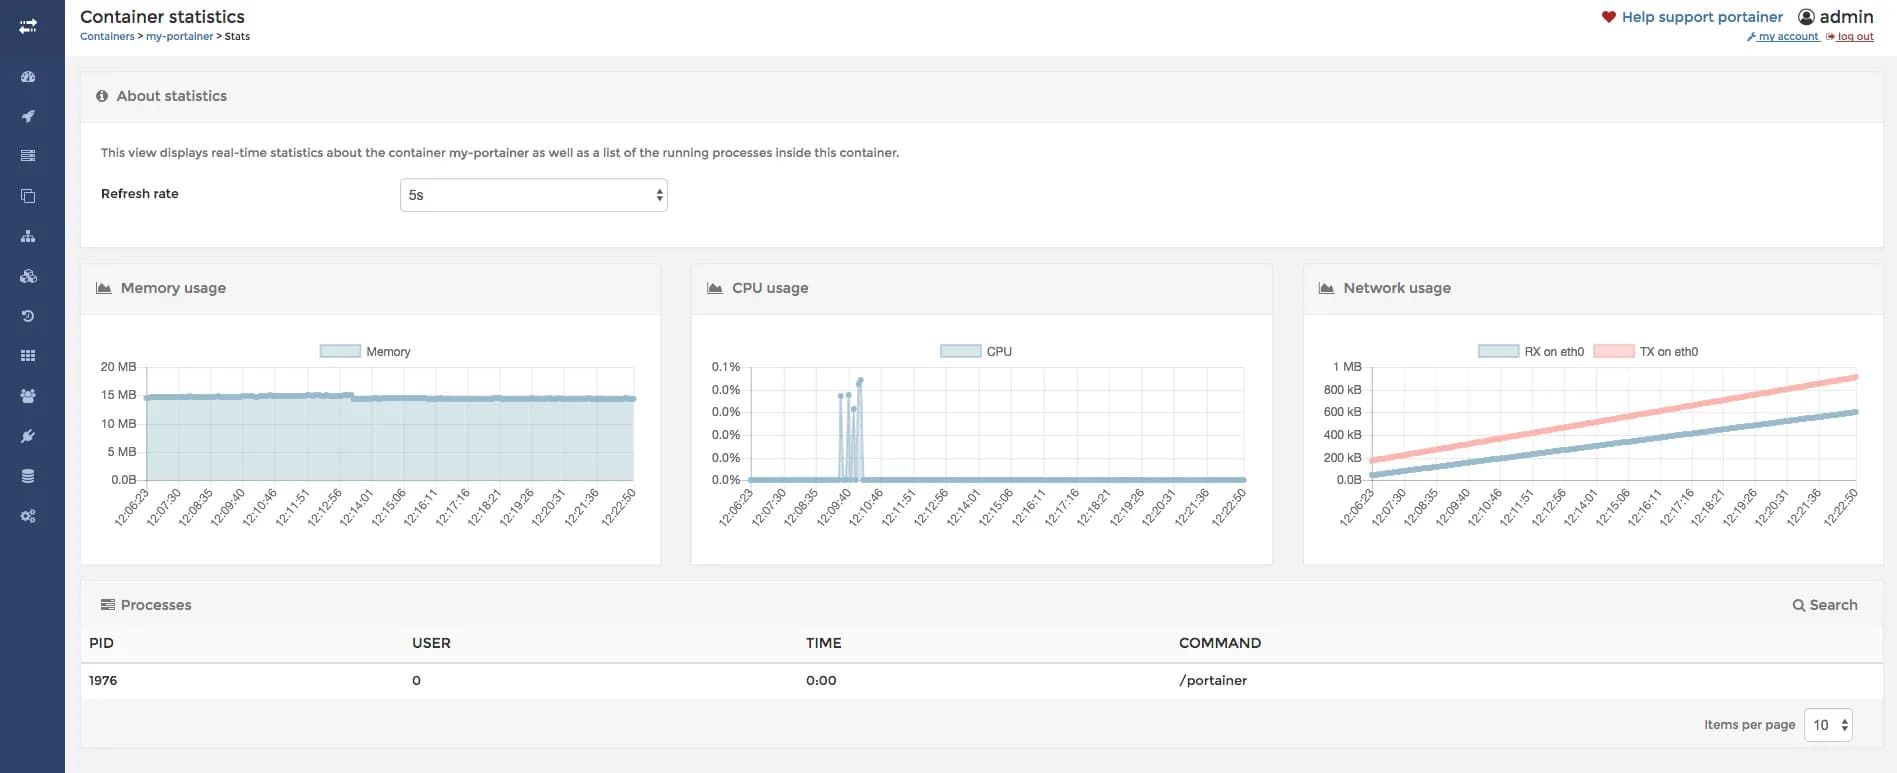
One of the first things which will come really handy is the resource view to running containers

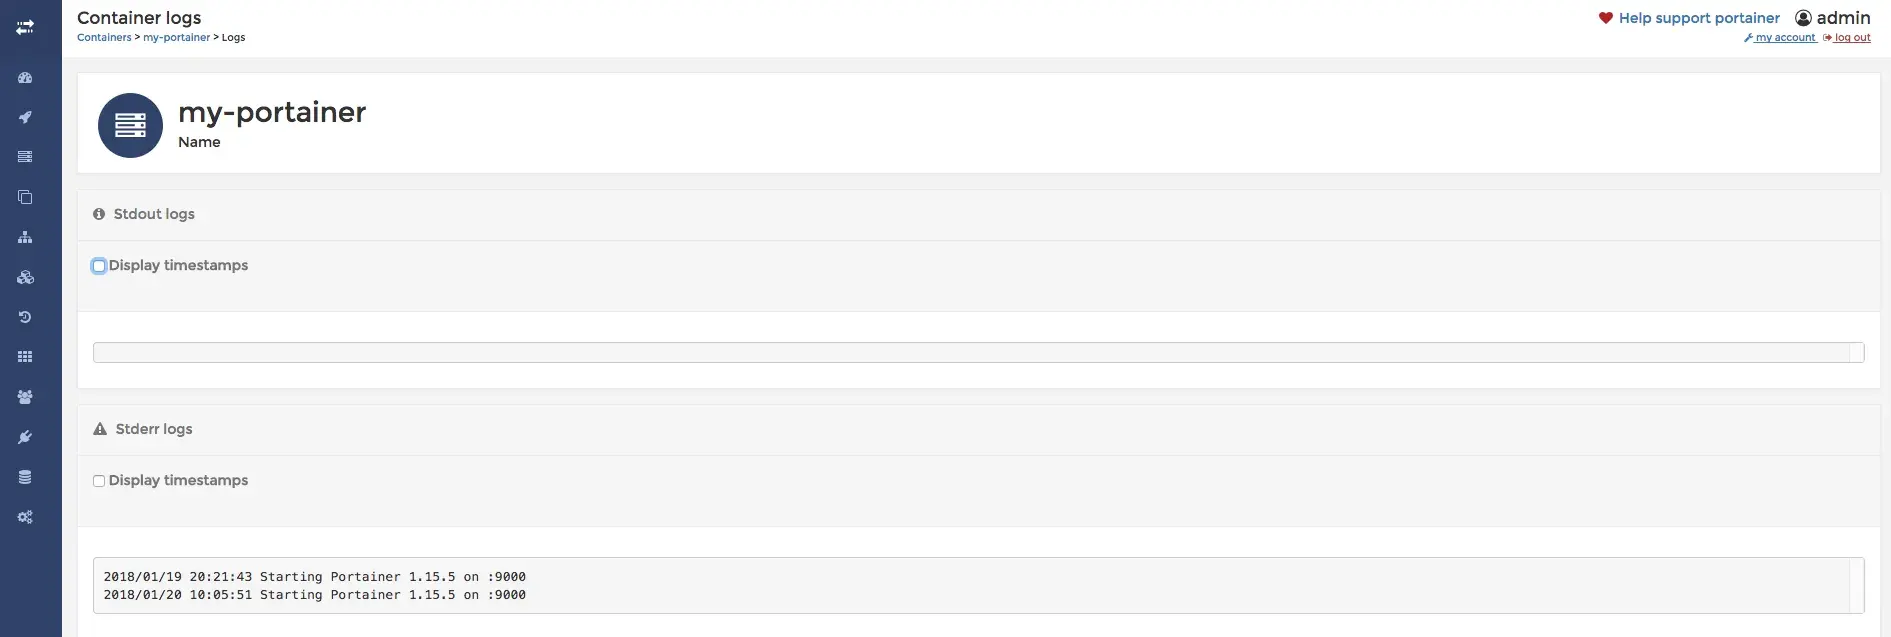
and view to the logs

What else you can do — and how — with Portainer, you can find from the official docs.
Optional: Enable HTTPS
If you happen to have a valid (self-signed) X.509 certificate for your localhost, enabling HTTPS is relatively easy.
Given, that the X.509 certificate (localhost.crt) and key (localhost.key) are located at /cert-directory/on/your/host/machine on the host, instead of the above command start the Portainer container with:
docker run -d -p 9000:9000 \
  --restart always \
  -v /var/run/docker.sock:/var/run/docker.sock \
  -v /directory/on/your/host/machine:/data \
  -v /cert-directory/on/your/host/machine:/certs \
  --name my-portainer \
  portainer/portainer \
  --ssl --sslcert /certs/localhost.crt --sslkey /certs/localhost.key
Now visit https://localhost:9000/ instead of http://localhost:9000/.